Day two of our Advent Calendar of Activities! Today we’ve made Christmas cards with a potato print snowman motif. Pretty cute, if I may say so myself.
Here’s what we used and how we did it:


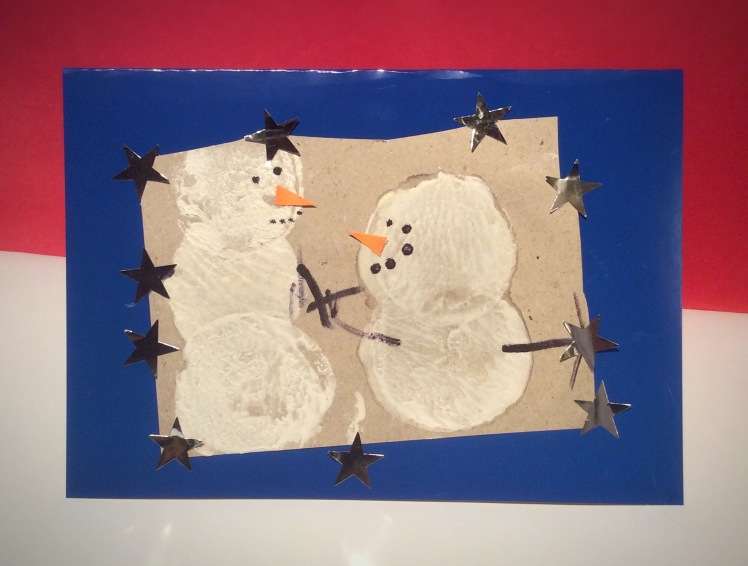
We used a natural beige paper to print the snowmen on. I drew lines on the sheet of A4 and then Penguin cut along the lines. Good scissor skills practice again!
We cut a potato in three pieces, so that we ended up with two usable ‘stamps’, one slightly larger than the other.
We then went on to do the printing. I did mine first to show what to do, and then Penguin did his. We usually work in parallell like that, as Penguin generally takes in visual information much better, compared to just giving verbal instructions.
Normally we would have used an acrylic paint for this kind of thing, but we didn’t have any available today. So I made a homemade alternative by mixing flour and water, and adding white pigment by grating down part of a solid watercolour block.


When the potato prints were almost dry, we cut little triangles out of orange paper, to make carrot noses for our snowmen. I helped with holding the paper while Penguin worked the scissors. He was very quick with them, so I had to mind my fingers!
Noses were glued into place, and then eyes, mouths and stick arms were added with black pen (we used a marker pen). Pencil grip coming along nicely, yay!
The next step was glueing the snowman picture onto a piece of blue card (which we had previously folded in half). The card is white on the inside, handy for adding season’s greetings. As a finishing touch, Penguin added some silver star stickers around the snowmen.
Finished!
Pin this post!


2 thoughts on “Making a Potato Print Snowman Christmas Card”